A Limited Collection of Piano Rebuilding Photos
A few of the many procedures in a complete rebuild
1913 5' 4" Knabe Grand Piano
Courtesy of Gene Nelson RPT (all rights reserved) |
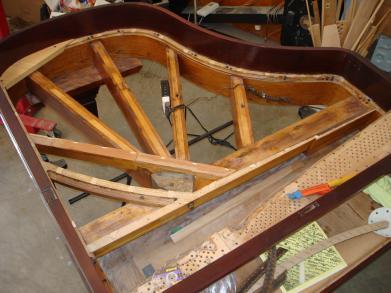
| Piano case being prepared for new soundboard |
 |
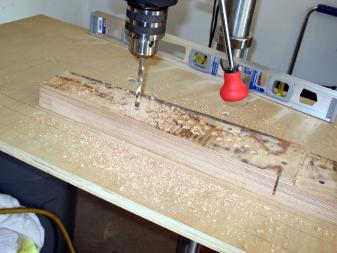
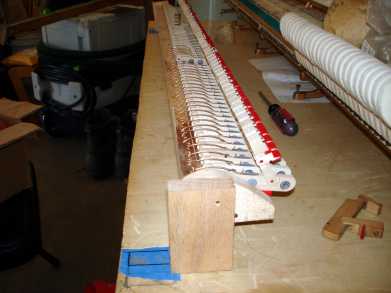
| New tuning pinbloack being drilled |
 |
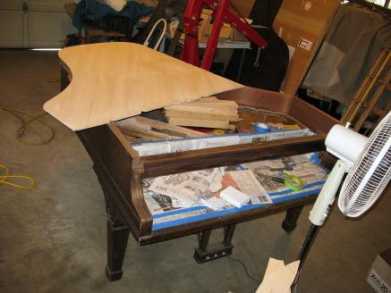
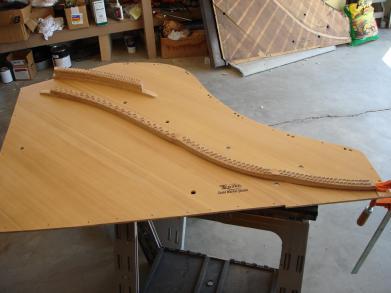
| Fitting the new soundboard panel to the case |
 |
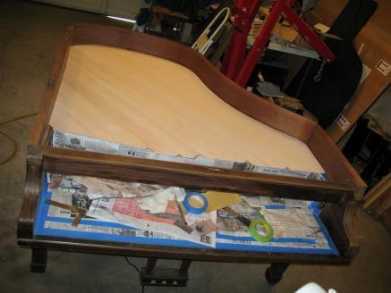
| Another image of fitting the new soundboard panel to the case |
 |
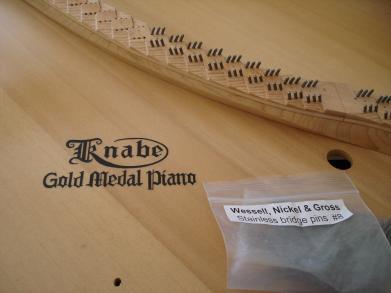
| Installing bridge pins |
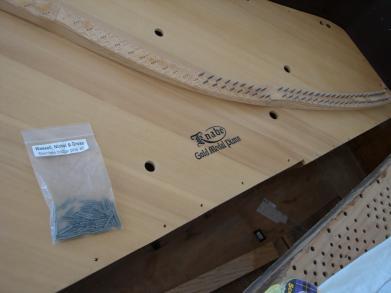 |
| Another image of installing bridge pins |
 |
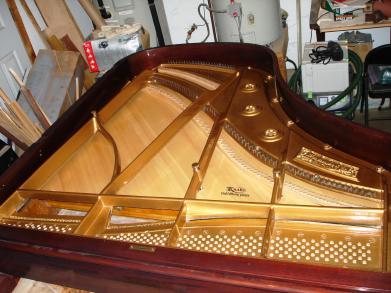
| The completed new soundboard and bridges |
 |
| Glueing in the new soundboard |
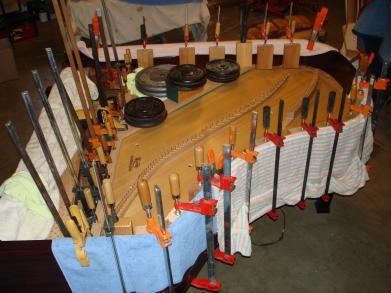 |
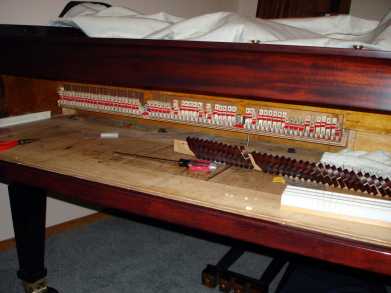
| Soundboard and plate (harp) are now installed and the piano is ready
for stringing |
 |
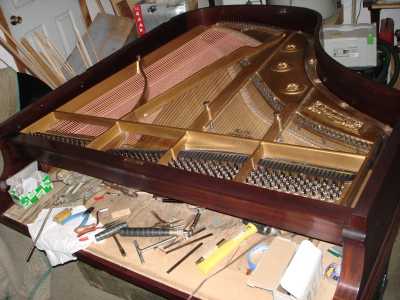
Installing new strings on the piano has been completed |
 |
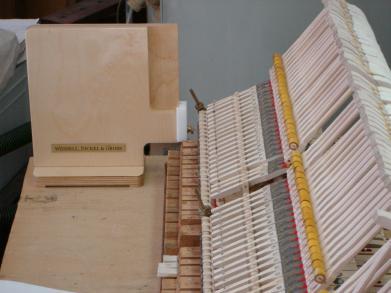
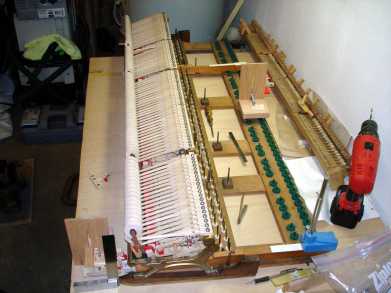
| New damper underlever assembly (aft) and action stack with new action
parts and hammers. |
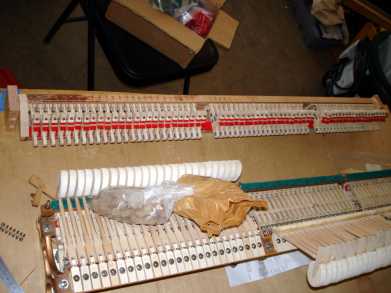 |
| Another view of the new damper underlever assembly (backaction) with
the action stack in the background |
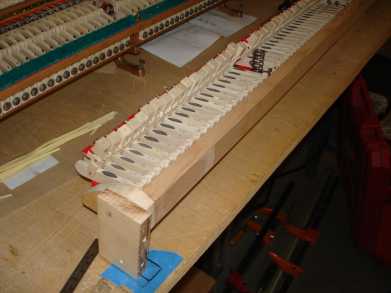 |
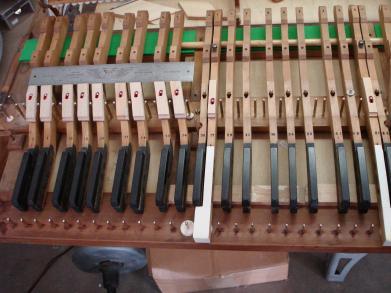
| Final view of of the new damper underlever assembly (backaction) after
installation of the return springs (note old underlever part at lower right) |
 |
| Installing the new damper underlevers assembly (backaction) in the piano |
 |
| Installing new backchecks |
 |
| Installing new key buttons |
 |
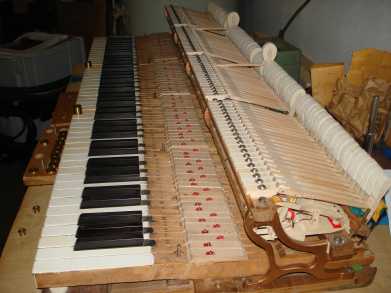
| Action stack with new actions parts and hammers on the keyframe without
the keys |
 |
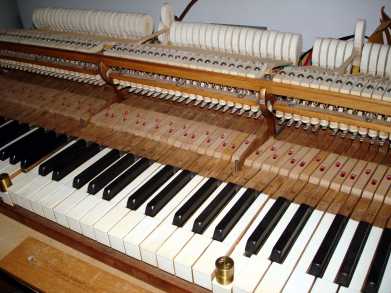
| Side view of complete rebuilt piano action |
 |
| Front view of complete rebuilt action evaluating touch weight, key weight,
or down weight |
 |
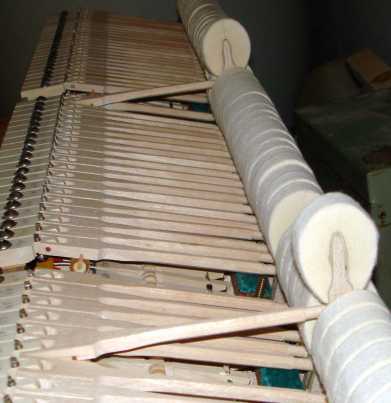
| Side view of new hammers and hammer shanks |
 |
| Dampers with new damper felt are being installed |
 |
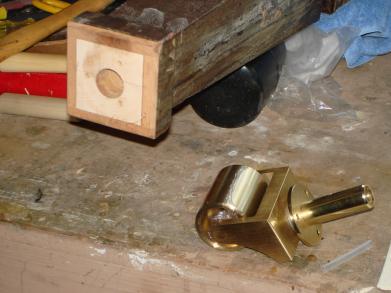
| Installing new casters |
 |
|
|
 Luke Ouellette